
Gravel is one of the most overlooked materials in backyard design, yet it solves real problems that homeowners face every day. Whether you’re dealing with muddy pathways, bare patches between garden beds, or a crumbling driveway, backyard gravel ideas offer practical, affordable solutions that also look sharp. Unlike concrete or pavers, gravel adapts to any landscape style and costs a fraction of the price. The key is knowing how to use it strategically, from functional walkways to decorative focal points. This guide walks through seven solid applications so you can decide which gravel solutions fit your yard and budget.
Table of Contents
ToggleKey Takeaways
- Backyard gravel ideas offer cost-effective solutions that cost $20–$50 per cubic yard, a fraction of the price of concrete or pavers, while providing natural drainage for wet yards.
- Gravel pathways should be at least 2–3 feet wide and installed 3–4 inches deep with landscape fabric and either crushed stone (for high-traffic areas) or pea gravel (for visual appeal in light-traffic zones).
- Decorative gravel in garden beds suppresses weeds, retains moisture, and frames plantings beautifully when laid 2–3 inches deep around plants with landscape fabric underneath.
- A gravel patio requires proper layering—crushed stone base (1.5–2 inches) topped with pea gravel or colored stone (1.5–2 inches)—and costs only $80–$200 for a 10-by-12-foot area.
- Gravel driveways are a budget-friendly alternative to asphalt for light to moderate use, requiring a 4–6 inch excavation, multiple compacted layers, and annual maintenance costing $50–$100 for top-dressing.
- Success with gravel projects depends on proper prep, woven landscape fabric (not plastic), correct layering, and regular maintenance including raking every 2–4 weeks and top-dressing every 12–18 months.
Why Gravel Is a Smart Backyard Choice
Gravel wins on cost and versatility. A cubic yard of decent landscape gravel runs $20–$50 depending on type and location, versus $150+ for pavers or $100+ for concrete per cubic yard. Installation is simple: grade the area, lay landscape fabric (blocks weeds), and spread. No special tools required.
Beyond price, gravel handles drainage naturally. Heavy rain soaks through instead of pooling, making it ideal for wet yards. It also adapts to changes. Need to adjust a pathway? Rake and redistribute. Want a different look? Swap the gravel color or blend two types.
Gravel comes in several grades: pea gravel (smooth, rounded, comfortable underfoot), crushed stone (angular, compacts well, better for paths), marble chips (premium look, pricier), and river rock (larger, more decorative). Each serves different purposes. Homeowners tackling Top Backyard Transformations to Inspire Your Outdoor Space often start with gravel because it’s forgiving and results show fast.
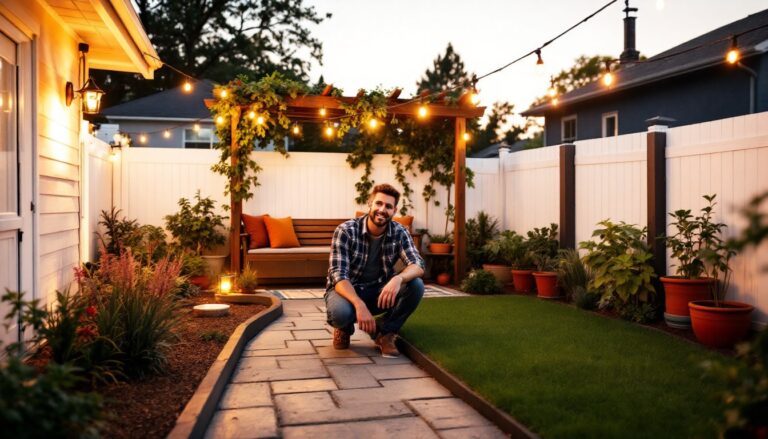
Classic Gravel Pathways and Walkways
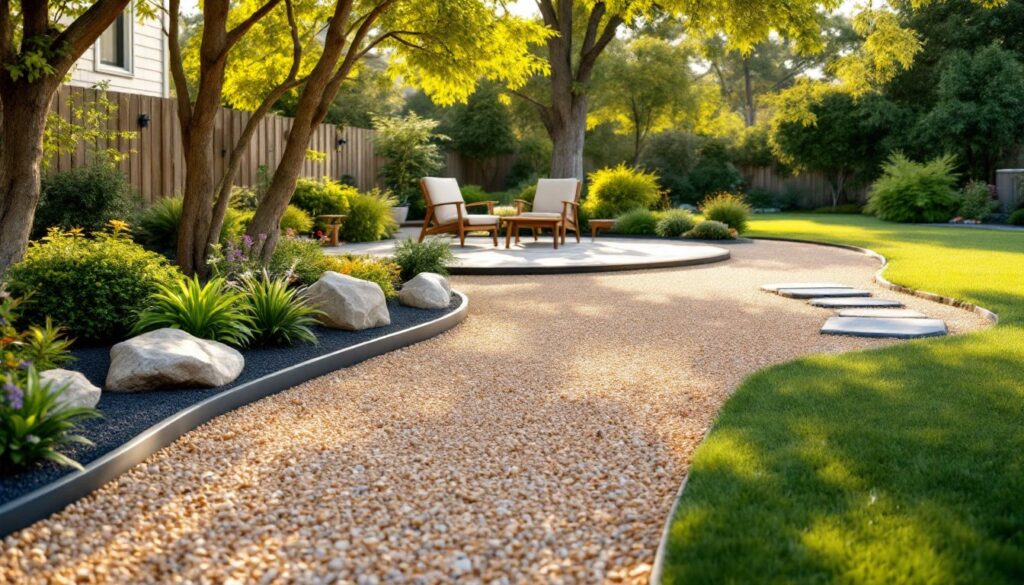
A gravel path is the quickest way to define movement through your yard and connect different zones. Start by marking your route with chalk or rope. Aim for at least 2–3 feet wide so two people can walk side-by-side comfortably.
For installation: excavate 3–4 inches deep, tamp the soil, lay landscape fabric (woven, not plastic, fabric breathes and lasts 10+ years), and spread crushed stone or pea gravel evenly. Crushed stone compacts better and holds its shape under foot traffic, while pea gravel feels nicer but shifts slightly over time, best for light-traffic areas.
Edge your path with metal or composite landscape borders to contain gravel and look finished. A 50-foot pathway using pea gravel costs roughly $50–$100 in materials and a weekend of work. Maintenance is minimal: rake smooth once or twice yearly, top-dress with fresh gravel annually, and pull any weeds that push through the fabric.
According to landscape design guides, gravel pathways work best in formal gardens, cottage yards, and Zen landscapes. Avoid high-traffic zones (entryways with heavy foot traffic) where crushed stone would dust into your home.
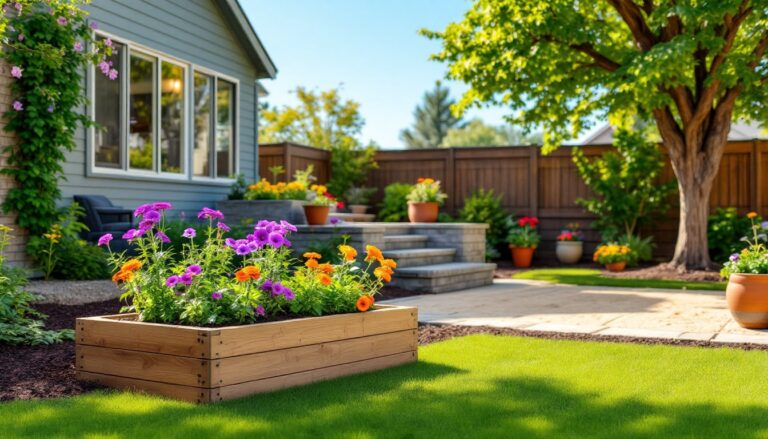
Decorative Gravel for Garden Beds and Landscaping
Gravel between plants serves a double duty: it suppresses weeds and frames plantings beautifully. Use pea gravel or river rock here for visual appeal. Plan on 2–3 inches of depth around shrubs and perennials.
Before laying gravel, amend soil with compost if needed and plant everything first. Then roll out landscape fabric around plant bases (cut circles to fit), secure with landscape staples, and spread gravel. This prevents weeds from germinating and reduces watering needs by keeping soil cooler and retaining moisture longer.
Color matters more in decorative beds. Tan and gray gravel work with almost anything. Dark charcoal or black stone creates contrast and makes foliage pop. White marble chips suit modern or Mediterranean schemes but show dirt easily. Mix gravel types for depth, larger river rocks as accents, pea gravel as fill, adds visual interest without fussiness.
For a 4-by-8-foot bed, budget 1–1.5 cubic yards of gravel and about 4 hours labor. Resources like Gardenista showcase how combining gravel with layered planting heights creates professional-looking gardens on a homeowner budget. This approach also fits Backyard Transformation Ideas to Elevate Your Outdoor Space, turning bare soil into a polished landscape quickly.
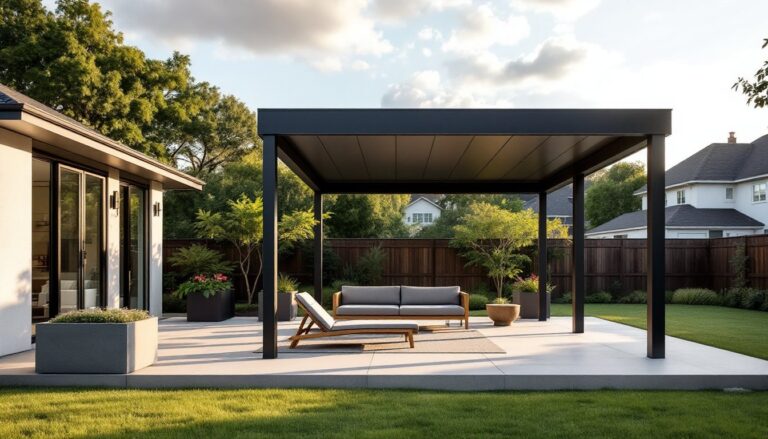
Creating a Gravel Patio or Seating Area
A gravel patio is easier than pouring concrete and costs less. Decide on size, a small seating nook might be 8-by-10 feet, a larger gathering spot 12-by-16 feet. Excavate 3–4 inches, compact the base soil hard with a hand tamper or plate compactor (rent one for $30–$50/day if the area is large).
Layer landscape fabric, then add crushed stone or recycled asphalt as a base layer (1.5–2 inches), tamp again. Top with pea gravel or colored stone (1.5–2 inches more) for the finished surface. The two-layer approach prevents base material from migrating up into the top layer.
For furniture, stepping stones or pavers set in the gravel offer stable, non-shift ground for chairs and tables. Place stones before adding top-layer gravel, or use concrete pads under heavy furniture legs. Gravel spreads naturally under outdoor furniture, so plan on raking monthly or after heavy rain.
A 10-by-12-foot gravel patio costs $80–$200 in materials (crushed stone, gravel, landscape fabric, edging). Better Homes & Gardens regularly features gravel patios in seasonal projects, proving they’re a reliable DIY solution that homeowners trust for relaxation zones.
Budget-Friendly Driveway Solutions With Gravel
A gravel driveway handles light to moderate vehicle use at a fraction of asphalt cost. This is a bigger project but still DIY-able if the grade is reasonable. Avoid driveway gravel on steep slopes (water runoff and ruts form quickly).
Excavate 4–6 inches, compact the subgrade. Add crushed stone base (3 inches, compacted), then a middle layer of recycled asphalt or road base (1.5–2 inches, compacted). Finish with crushed angular stone or marble chips (1–1.5 inches) for the top surface. Each layer must be compacted or you’ll see ruts within months.
A standard 12-by-30-foot driveway requires roughly 9–12 cubic yards of material and runs $180–$400 in supplies. Renting a plate compactor for a day adds $40–$50. Install landscape fabric beneath to minimize base material migration.
Gravel driveways require annual raking and top-dressing, budget 4–6 hours per year and $50–$100 for fresh top gravel. Pothole repair is straightforward: remove soft material, tamp base, add fresh stone. This is more hands-on than asphalt but costs half as much over a decade. Check local codes: some municipalities require permits or restrict gravel driveways in certain zones.
Installation Tips and Maintenance Best Practices
Prep work determines success. Measure carefully before ordering. One cubic yard covers roughly 100 square feet at 3 inches deep, standard for most projects. Order 10% extra for settling and top-dress reserves.
Landscape fabric is non-negotiable. Cheap plastic chokes weeds temporarily but degrades in sunlight. Woven polypropylene lasts 8–10 years and breathes. Pin every few feet with landscape staples so it doesn’t shift during gravel spread.
Base layer matters. Crushed stone or recycled asphalt as a base compacts and binds over time, creating a stable sub-layer. Pea gravel alone on bare soil leads to migration and bare patches. The two-layer system (base + finish) keeps things looking good longer.
Maintenance rhythms: Rake gravel smooth every 2–4 weeks if the area sees regular foot traffic or rain. Check fabric annually for tears and weeds pushing through edges, common weak points. Weed by hand (fabric stops most seeds) or use landscape-safe herbicide sparingly on persistent plants. Top-dress with fresh finish gravel every 12–18 months, you’ll need about 25% of your original volume.
Safety considerations: Wear gloves and eye protection when spreading stone. Use a dust mask if material is dry and windy. Keep gravel away from rooflines (can clog gutters) and out of garden beds with shallow-rooted plants (gravel holds heat and can stress delicate specimens).
Common mistakes: too-thin base (leads to ruts), missing or torn fabric (weeds explode), over-compacting small areas by hand (creates concrete-hard spots). Use steady layers, good materials, and patience instead.
Conclusion
Gravel solves problems and looks good doing it. Whether you’re outlining walkways, softening garden beds, creating a patio, or tackling a driveway, gravel adapts to your style and budget. Start small, a pathway or bed, to learn the install rhythm before committing to larger projects. Quality materials and proper prep work pay off in durability and curb appeal. How To Transform Your Backyard: A Complete Guide offers additional strategies for combining gravel with other design elements. With annual maintenance and smart material choices, your gravel investment will enhance your yard for years.