
A chipping green in the backyard sounds like a luxury reserved for country club members, but it doesn’t have to be. More homeowners are discovering that adding a dedicated practice space for chipping and short-game work transforms both their golf game and their outdoor living. Whether you’re a serious golfer who practices year-round or someone looking to add a fun, functional element to the yard, a backyard chipping green is an achievable project that pays dividends. This guide walks through layout considerations, budget-friendly options, and premium installations so you can choose the setup that fits your space, skill level, and wallet.
Table of Contents
ToggleKey Takeaways
- A backyard chipping green requires a minimum 10-by-15-foot space with 4-6 hours of direct sunlight and good drainage to ensure consistent playability and healthier grass.
- Budget-friendly artificial turf solutions cost $450–$1,200 for a 10-by-15-foot area and require proper base prep with crushed stone underlayment, while premium installations with bentgrass can exceed $8,000 but replicate authentic course conditions.
- Since the short game accounts for roughly 60% of golf strokes, dedicating even 30 minutes weekly to chipping practice on your backyard green delivers measurable score improvement.
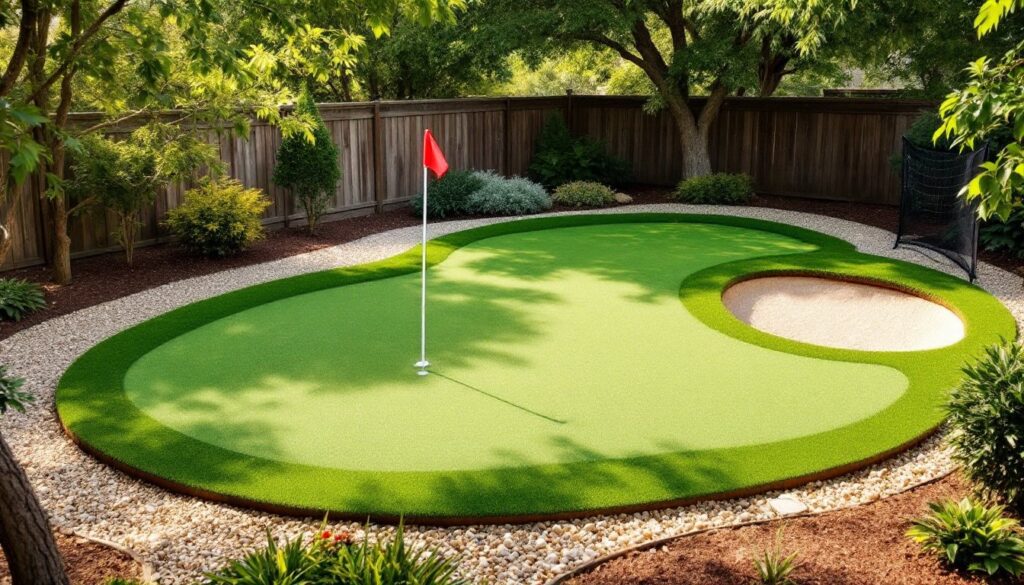
- Adding multiple holes, flags, gentle slopes (2-3%), and small bunkers transforms a basic chipping green into a feature that provides varied practice and keeps homeowners engaged year-round.
- A containment net ($50–$150) and low-voltage LED lighting ($100–$300) enhance safety, neighbor relations, and the ability to practice during early morning or evening hours.
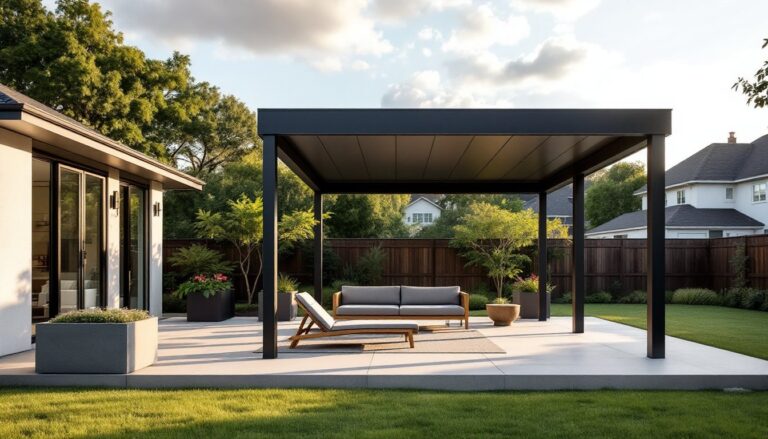
Why Add a Chipping Green to Your Backyard
A chipping green gives golfers consistent access to practice without leaving home. Rather than heading to the range or driving range every time you want to refine technique, you can step outside and work on short shots, chips, pitches, and bunker play, during lunch breaks or after work.
The short game accounts for roughly 60% of strokes in a round of golf. Golfers who dedicate even 30 minutes weekly to chipping see measurable improvement in their score. A backyard green also extends your enjoyment of the space: it becomes a conversation starter and a functional feature that raises property appeal. Plus, unlike a full golf simulator or indoor setup, a chipping green requires minimal electricity and fits naturally into most yards.
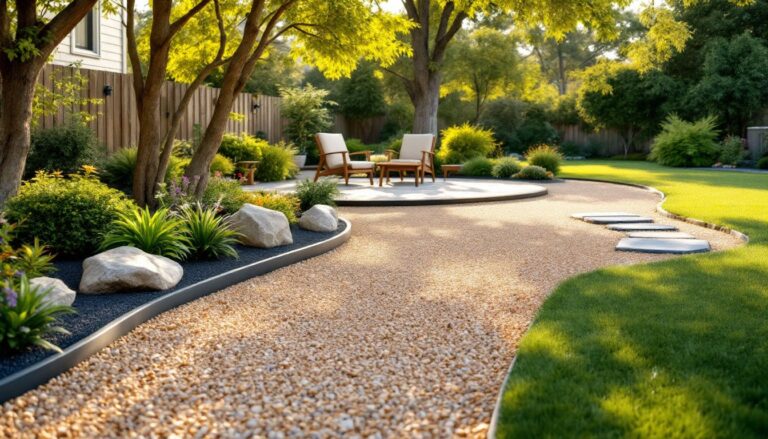
Space and Layout Considerations
Most chipping greens work best in a 10-by-15-foot minimum space, though 15-by-20-feet is more comfortable for varied shot practice. Measure your available area, a tape measure and a helper make this faster than guessing. Mark out the footprint with stakes and string to visualize how it’ll sit relative to the house, fences, and mature trees.
Sun exposure matters more than many realize. A space that receives 4-6 hours of direct sunlight daily supports healthier grass and better drainage. Avoid low spots or areas where water pools after rain: chipping greens need solid drainage to prevent muddy, unplayable surfaces. If your yard sits in deep shade or is prone to standing water, a premium synthetic turf solution may outperform natural grass. Check sight lines too, you’ll want a clear view from where you stand to hit and where balls land, with no obstacles hazarding your shot. Consider proximity to neighbors: a small containment net ($50–$150) prevents errant shots from landing in adjacent properties.
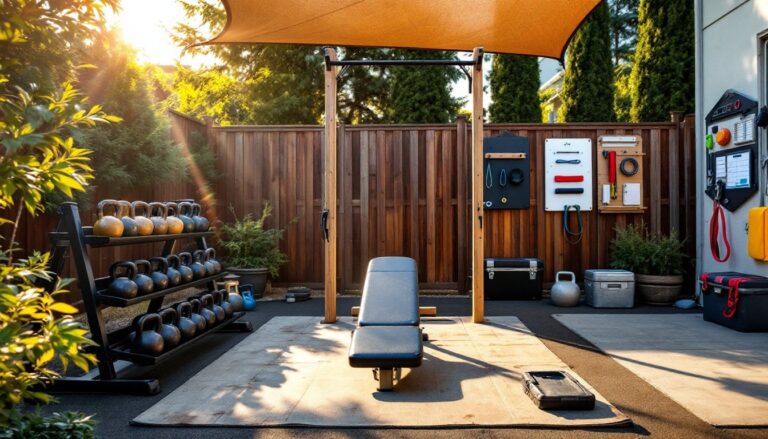
Budget-Friendly DIY Chipping Green Options
Using Artificial Turf and Synthetic Materials
Artificial turf offers the fastest, most affordable route to a functional chipping green. A 50-ounce polypropylene or polyethylene synthetic turf (the weight indicates durability) runs $3–$8 per square foot, plus installation. For a 10-by-15-foot area, plan on $450–$1,200 for material alone.
Prep is the difference between a green that lasts three years and one that lasts ten. Clear the area of grass and weeds using a shovel or sod cutter, don’t just lay turf over existing grass, as it’ll compress unevenly and rot underneath. Remove rocks and roots that could puncture the backing. Rake the bare soil smooth and compact it with a hand tamper or plate compactor (rental ~$30/day). Spread 2–4 inches of crushed stone or recycled rubber underlayment to ensure drainage and reduce settling: this also cushions the turf and absorbs impact.
Unroll synthetic turf and secure edges with ground staples or landscape adhesive spaced every 12 inches. Trim excess with a utility knife and apply seaming compound (a waterproof glue) where sections meet. Water it down, brush the turf pile against the grain to fluff it, and let it cure for 24 hours before heavy use. The result is a low-maintenance green that drains quickly, tolerates heavy foot traffic, and doesn’t require mowing.
Premium Installation Approaches
Natural Grass vs. High-End Synthetic Solutions
If you’re willing to invest $3,000–$8,000+, a bentgrass or creeping bluegrass putting surface replicates a real course feel. Bentgrass, the standard on tour courses, requires more maintenance but delivers authenticity. A contractor or landscape installer will strip the existing soil, install 4–6 inches of USDA-spec putting green sand and compost mix, and sod with premium grass seed or sod.
Natural greens demand weekly mowing, regular fertilization, pest management, and seasonal overseeding. In arid climates, irrigation is essential and adds $500–$2,000. In wet regions, subsurface drainage (perforated pipes beneath the surface) prevents puddling and costs $1,000–$3,000. Top Backyard Transformations to Inspire Your Outdoor Space showcase real examples of premium grass greens that become family focal points.
High-end synthetic turf, brands like FieldTurf or Challenger, run $8–$15 per square foot installed and include professional base prep, superior drainage systems, and better durability. These products feel closer to real grass underfoot and hold up to 10+ years of heavy use. They’re ideal if you can’t commit to weekly maintenance or live in a climate with extreme freeze-thaw cycles that damage natural grass. Backyard Transformations Trends 2026 highlight the growing preference for synthetic solutions among time-conscious homeowners.
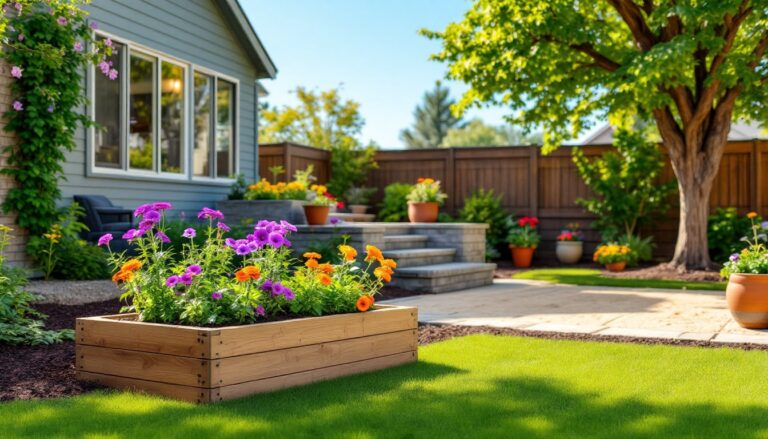
Designing Multiple Holes and Features
A single hole is fine for casual practice, but adding variety, multiple targets, slopes, and hazards, keeps interest alive. If space allows, create 2–3 separate chipping areas within your green. A flagstick and cup ($50–$150 per set) mark the primary target: position it at different depths, some shots from 20 feet out, others from 40 feet, to simulate course conditions.
Adding slope and contour requires extra planning. A gentle 2–3% grade (about 3 inches of elevation change across 15 feet) improves drainage and mimics real greens. More than that gets tricky to maintain in natural grass and requires grading equipment. With synthetic turf, subtle contours are easier to build in during base installation, installers can shape sand beneath the turf to create dips and rises.
Backyard Transformation Techniques cover methods for adding visual interest without overcomplicating the build. Consider small sand bunkers (a 4-by-6-foot bunker costs $200–$500 in materials and labor to build and fill). A containment net or low fence along the perimeter catches errant shots and protects neighbors, crucial for safety and liability.
Lighting lets you practice in early morning or evening. A few low-voltage LED ground lights ($100–$300 for the set) brighten the surface without harsh glare. Avoid overhead spotlights, which create uneven shadows that mess with depth perception. What Is Backyard Transformations? breaks down how purposeful design, even in small spaces, transforms how homeowners use their yards year-round.