
Building a backyard batting cage transforms unused yard space into a functional training zone for baseball and softball enthusiasts of all ages. Whether you’re a parent looking to help your kid practice swings, a serious ballplayer working on technique, or someone who just enjoys casual play, a DIY batting cage eliminates expensive facility fees and brings the work indoors, or rather, outdoors. The good news: you don’t need a sprawling estate or deep pockets to set up a functional batting cage. This guide walks through practical designs, materials, and setup strategies that fit tight budgets, small yards, and varying skill levels.
Table of Contents
ToggleBudget-Friendly Portable Cage Setups
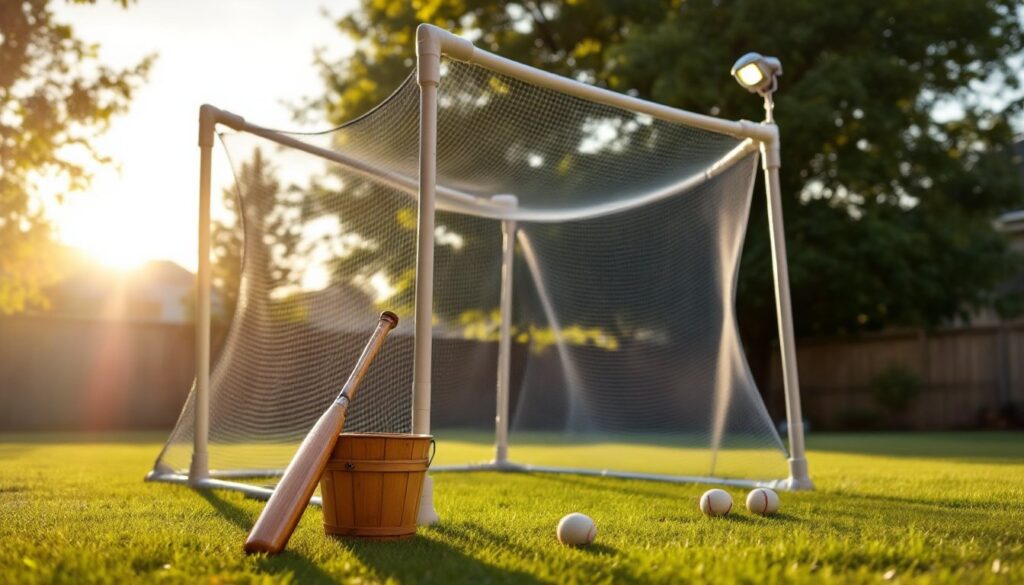
Portable batting cages are the entry point for most DIYers, no permanent installation, no permits, and typically under $1,500 to assemble. The most affordable route uses PVC pipe framing (1.5″ to 2″ diameter) combined with netting panels, which you can source from hardware stores or online retailers.
A basic 12′ × 8′ × 8′ portable setup requires:
- 8 vertical uprights (10′ PVC)
- Horizontal connectors and elbow joints (PVC fittings)
- Heavy-duty netting material (12′ × 8′ panel, typically baseball netting in 1″ or 1.5″ mesh)
- Flexible connectors or clamps to join pipes
- Ground anchors or weighted bases to prevent shifting
Assembly takes a weekend with basic hand tools. Drill pilot holes in PVC before tightening connectors to prevent cracking. Unlike metal frames, PVC won’t rust, is lightweight for repositioning, and handles weather reasonably well if you choose UV-resistant netting.
Some builders install temporary posts using concrete footings, dig 18″ holes, set 4×4 pressure-treated posts, and pour concrete. This approach costs more but feels sturdier. Either way, test your setup with a few pitches before fully committing to placement: you’ll quickly spot awkward angles or sight-line issues that netting location causes.
Consider pre-fabricated cage kits if DIY fabrication feels daunting. They range from $800 to $3,000 and arrive partially assembled, cutting labor time significantly.
Space-Saving Corner and Wall-Mounted Designs
Not everyone has room for a full rectangular cage. Corner and wall-mounted designs maximize existing structures and fit tight residential lots. A corner cage uses two existing fences or walls as two of the four sides, requiring only two free-standing frame sections instead of four.
To build a corner configuration:
- Measure the corner angle carefully: most residential corners aren’t perfect 90° angles.
- Frame two sides using 2×4 lumber or PVC, creating an “L” shape.
- Attach netting from the corner walls outward.
- Brace the open ends with cross-bracing to handle ball impact and wind loading.
Wall-mounted designs attach directly to a solid fence or exterior wall using bolted brackets and 4×4 posts. This setup requires the wall to be structurally sound, avoid attaching to vinyl siding or brick veneer alone. Instead, bolt through studs or into concrete. A 10′ × 6′ wall-mounted cage might cost $600–$1,200 in materials and handles practice from one direction effectively.
Wall mounting solves two problems at once: it saves yard space and uses existing structures. Just ensure the wall can handle repeated ball impact: some homeowners add plywood backing behind netting to distribute force and reduce vibration on the house frame.
Before committing, verify setback distances from property lines. Local codes often require cages to be 5–10 feet from the lot line, so confirm regulations before finalizing placement.
Netting Materials and Frame Options
The frame and netting are the two biggest variables affecting durability and cost. Baseball-grade netting typically comes in 1″, 1.5″, or 2″ mesh sizes. Smaller mesh ($0.50–$0.80 per square foot) catches baseballs reliably but reduces airflow and visibility: larger mesh ($0.30–$0.50 per sq. ft.) allows better sightlines but may let balls escape if pitching indoors.
For backyard use, 1.25″ or 1.5″ mesh offers a practical middle ground, it catches baseballs and softballs without severely limiting air movement. UV-treated netting lasts 5–8 years outdoors: untreated netting degrades in 2–3 years under direct sunlight.
Frame materials break down as follows:
- PVC pipes: Lightweight, inexpensive, rust-proof. Best for portable setups. Doesn’t handle sustained high loads as well as metal.
- Steel EMT (electrical metallic tubing): Affordable and strong. Requires galvanizing or paint to resist rust. Common in semi-permanent cages.
- Aluminum: Rust-proof, lighter than steel, higher cost. Ideal for permanent installations in humid climates.
- Pressure-treated lumber: Works for posts and horizontal beams, especially corner designs. Heavier and requires maintenance, but familiar to most DIYers.
Frame thickness matters: 1.5″ diameter for uprights, 1.25″ for cross-bracing provides adequate rigidity for most backyard batting. Heavier gauge means higher cost but longer lifespan under ball impact.
Attach netting using cable ties, J-channel, or staples (though staples may loosen over time). Ensure tension is even across all sides to prevent sagging and ball hang-ups. Leave a small gap at the bottom for drainage if outdoors, water pooling in netting degrades materials faster.
Ground Preparation and Safety Considerations
Many DIYers skip ground prep and regret it. A level surface prevents uneven netting stress, water pooling, and structural imbalance. If your site slopes noticeably, either terrace it slightly or adjust frame heights to compensate.
Clear the ground of rocks, roots, and debris. These create tripping hazards around the cage perimeter and can damage netting when it shifts. For portable setups, a clean, level grass surface works fine. For semi-permanent installations, consider laying a 1–2″ layer of sand or pea gravel for stability and drainage.
Safety warnings first:
- Wear safety glasses and work gloves when assembling frames and handling sharp PVC edges or metal fittings.
- Use appropriate ear protection if cutting metal or drilling.
- Never work alone when lifting large frame sections or driving posts.
- Ensure adequate space around the cage, at least 5 feet of clear area on all sides for movement and emergency exit.
Anchoring is critical. Portable cages need weighted bases or ground anchors (concrete footings, augers, or cable tie-downs) to prevent tipping in wind. Test your setup by leaning against the frame: it should feel solid. A cage that shifts during use is dangerous and will damage netting quickly.
If installing a permanent cage, check local building codes before breaking ground. Many jurisdictions require permits for structures over 50–100 square feet or reaching 12 feet in height. Some require setbacks from property lines or height restrictions in residential zones. A quick call to your building department prevents costly teardown later. Structural load ratings matter too: a cage designed for softballs handles different impact forces than one for fastballs.
Lighting and Weather Protection Solutions
Batting cages used primarily in daylight need minimal lighting. But, if training happens dawn, dusk, or indoors, LED work lights or string lights make a huge difference. Position lights at least 20 feet from the hitting area to avoid blinding glare: lighting behind and above the cage works better than directly overhead.
Solar-powered LED panels ($100–$300) require no wiring and charge during the day. They’re ideal for portable setups or renters. If you wire permanent lighting, hire a licensed electrician, exterior electrical circuits must be GFCI-protected per NEC code and buried conduit must run at least 12″ deep.
Weather protection depends on your climate and use patterns. In dry regions, a basic cage with roof-level polycarbonate panels ($500–$1,000) protects from sun and light rain while maintaining visibility. In heavy-rainfall areas, a full roof is worth the cost to extend the season and prevent water damage to equipment stored inside.
Netting covers or tarps extend material life during off-season storage. UV-blocking tarps slow degradation significantly. If leaving the cage exposed year-round, expect to replace netting every 5–8 years rather than 8–12.
Wind is a major factor in cage longevity. Strong gusts create stress on connections and netting. In windy climates, inspect anchor points and tighten bolts quarterly. Some builders add flexible wind breaks (fencing or vegetation) on the upwind side to reduce force. Also keep stakes and guy-lines clear during mowing, a caught cable is a safety hazard.
Maintenance Tips for Long-Lasting Durability
A well-built batting cage lasts 10+ years with basic care. Start by inspecting the entire structure monthly, netting for tears, frame for rust or cracks, and anchors for looseness. Small netting tears spread quickly: patch them immediately using netting repair patches and adhesive or by hand-sewing (for larger tears, a nylon patch works better than tape).
Clean netting annually with mild soap and water. Dirt and algae buildup speeds UV degradation. A soft brush and garden hose work fine: avoid high-pressure washers, which damage fibers.
Tighten bolts and connections twice yearly, spring before heavy use and fall after. Vibration from ball impact gradually loosens fasteners. Use a torque wrench for critical joints if you want precision: hand-tight plus a quarter turn with a wrench covers most applications.
For metal frames, touch up rust spots with rust-converter and outdoor paint annually. Galvanized metal lasts longer than bare steel, but paint extends life further. PVC doesn’t rust but can become brittle in direct sun over decades: applying UV-blocking sealant every few years helps.
Check ground anchors after heavy winds or frost cycles. Frost heave can lift posts: releveling prevents structural stress. If posts develop cracks or metal frames show deep rust, replacement is cheaper than repair and safer long-term.
Store portable netting and frame components indoors during off-season if possible. This isn’t mandatory but extends material life significantly. At minimum, cover the cage with a UV-blocking tarp during months of non-use. Many batting cage owners treat their cages seasonally, removing or covering them in winter in cold climates to prevent ice damage and reduce maintenance demands. The best backyard transformations balance functionality with longevity, and a well-maintained batting cage earns its place for years.
Conclusion
Building a backyard batting cage is achievable for most DIYers, regardless of budget or yard size. Start with your constraints, available space, climate, and how frequently you’ll use it, then select a design that fits. Portable PVC setups work for renters and small yards: wall-mounted cages maximize tight spaces: and permanent installations suit serious athletes planning long-term use.
Prioritize ground prep, structural stability, and quality netting: those three factors determine whether your cage lasts two seasons or ten. Honest assessment of difficulty, know when to call an electrician for outdoor wiring or a building inspector for permits, keeps projects safe and code-compliant. With a solid foundation and occasional maintenance, your backyard batting cage becomes a lasting training asset and a genuine upgrade to outdoor living.