
Pavers have become the go-to choice for homeowners looking to create durable, versatile outdoor spaces without the permanence of poured concrete or the unpredictability of natural stone. Whether you’re envisioning a sleek modern patio, a cozy garden path, or an expansive entertaining zone, pavers offer flexibility in design, color, and layout that few other materials can match. In 2026, paver backyard ideas have evolved beyond basic rectangular grids into thoughtful, functional designs that blend aesthetics with everyday livability. This guide walks you through seven concrete ways to transform your backyard using pavers, from minimalist approaches to rustic retreats and budget-conscious strategies that don’t sacrifice style.
Table of Contents
ToggleKey Takeaways
- Pavers backyard ideas range from modern minimalist designs with large-format stone to rustic, organic layouts that blend seamlessly with natural landscapes.
- Large-format pavers (12×24 inches or larger) require fewer joints, simplify installation, and create a more unified visual flow while reducing maintenance.
- Herringbone and chevron patterns add dynamic visual movement to patios but demand more labor and precision—budget 10–15% extra material for cuts and breakage.
- A functional entertaining space requires at least 12×16 feet, with layered zones for seating, dining, and pathways that define flow while respecting fire code clearances.
- Concrete pavers cost $2–$6 per square foot and remain a durable, budget-friendly choice when properly sealed and maintained with a compacted gravel base.
- Regular maintenance—sealing every 2–3 years, sweeping monthly, and addressing settling quickly—extends your paver backyard’s lifespan and keeps it looking fresh.
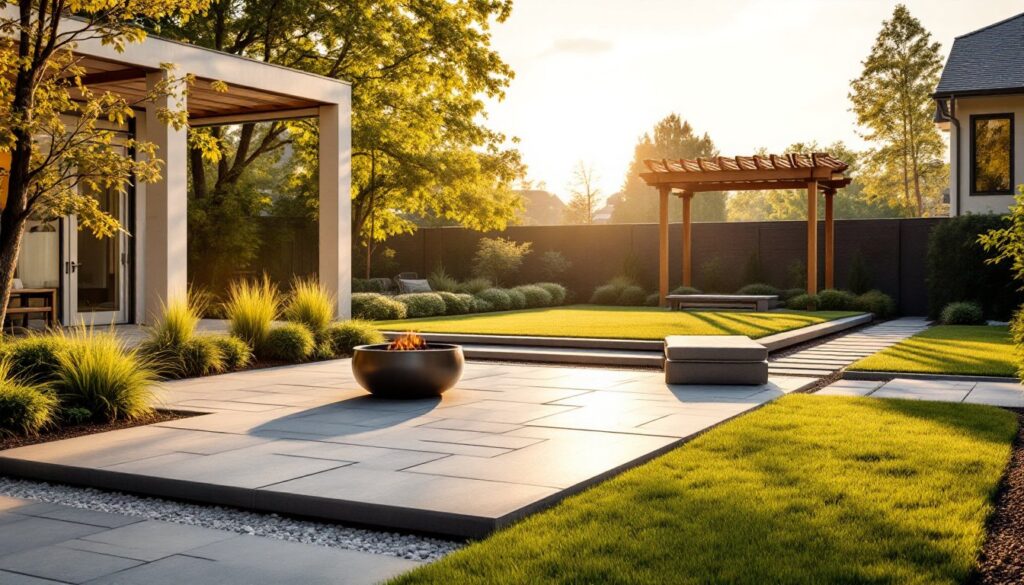
Modern Minimalist Paver Patios
Clean lines and neutral tones define the modern minimalist paver aesthetic. These designs strip away ornamental details and focus on proportion, negative space, and material quality. A minimalist patio typically uses large-format pavers, think 12×24 inches or 18×36 inches, in gray, charcoal, or warm concrete tones that create visual calm.
The appeal lies in simplicity. Fewer joints mean faster installation, easier cleaning, and a more unified visual flow. Pair oversized pavers with native plantings or minimalist hardscape features like a steel fire pit or simple wooden bench. The result feels intentional, not sparse. One-color palettes work best here: resist the urge to mix multiple colors unless you’re incorporating a subtle accent strip.
Sealing large-format pavers protects them from staining and weathering, especially important in high-traffic modern patios. Use a quality exterior sealer rated for your climate, UV-resistant formulas prevent color fading on lighter stone. Expect to re-seal every 2–3 years depending on foot traffic and weather exposure.
Rustic And Naturalistic Paver Layouts
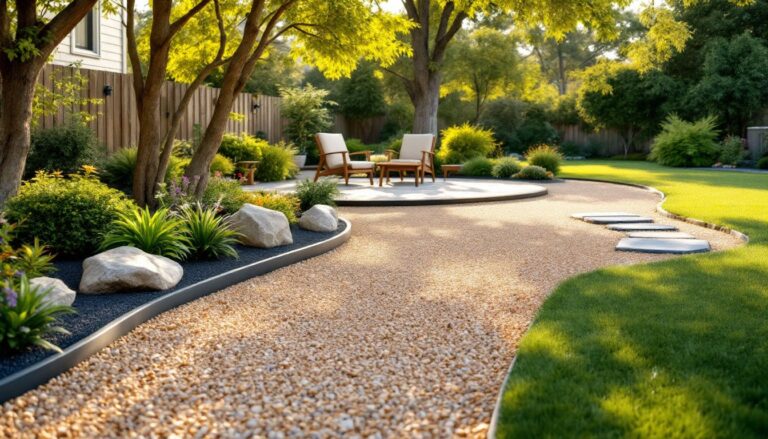
Rustic paver designs embrace irregularity, warmth, and organic shapes. Tumbled pavers with rounded edges, earth-toned colors (rust, cream, brown), and intentional variations in size create a lived-in, cottage-garden feel. This style works beautifully in regions with natural stone traditions or for homeowners seeking a softer aesthetic.
Random ashlar patterns, where pavers of varying rectangular sizes are laid without a repeating grid, mimic the look of aged, hand-laid stonework. The visual interest comes from the imperfections. Weathered brick pavers or natural stone like limestone and sandstone reinforce the rustic vibe. Leave intentional spaces between pavers for creeping thyme, moss, or other low-growing plants to soften edges further.
Rustic layouts often require more careful layout planning and may involve cutting pavers to fit irregular spaces. Budget extra time for this approach, and consider hiring a professional installer if your design involves complex curves or site-specific terrain challenges. The payoff is a backyard that feels like it grew organically rather than being imposed on the land.
Creative Pattern And Color Combinations
Color and pattern transform pavers from functional to artistic. Combining two or three complementary tones, say, charcoal and cream, or russet and gray, allows you to create visual interest without overwhelming the space. Verify color samples in natural daylight before committing to a large order: artificial lighting in showrooms often misrepresents how colors will look in your yard.
Herringbone And Chevron Patterns
Herringbone patterns involve laying rectangular pavers at 45-degree angles in an alternating V-pattern, creating dynamic visual movement. Chevron patterns use the same concept but with less offset and a sharper zigzag effect. Both require more cuts at edges and demand precise layout work, mistakes become obvious quickly. The installation is more labor-intensive and costly than running-bond patterns, but the visual payoff justifies the expense for statement patios.
When planning herringbone, measure your patio dimensions carefully. If the width or length doesn’t divide evenly by the paver size, you’ll need to plan for partial pavers at edges. A professional installer typically handles this, but DIY builders should account for extra cutting time. Herringbone also uses more material per square foot due to waste from cuts, so order 10–15% extra pavers to account for mistakes and breakage.
Other patterns include running bond (the most economical), stack bond (pavers lined up in grids), and basket weave (pairs of pavers laid perpendicular). Each affects installation difficulty, cost, and visual impact. Softer, more forgiving patterns suit beginners: complex geometric patterns suit statement areas or patios.
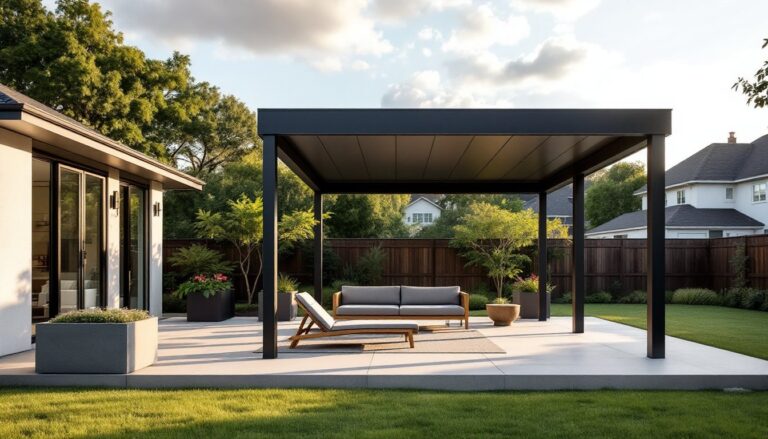
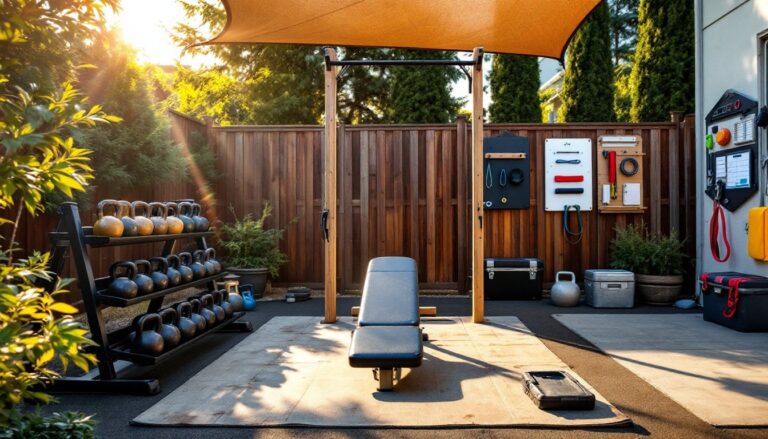
Functional Paver Spaces For Entertaining
Beyond aesthetics, paver patios must function as outdoor rooms. When designing an entertaining space, size matters, aim for at least 12×16 feet to comfortably fit a dining table and surrounding walking space. Larger is better if budget allows. Layer your paver zones: a main seating area, a separate dining pad, and transition pathways that define flow without walls.
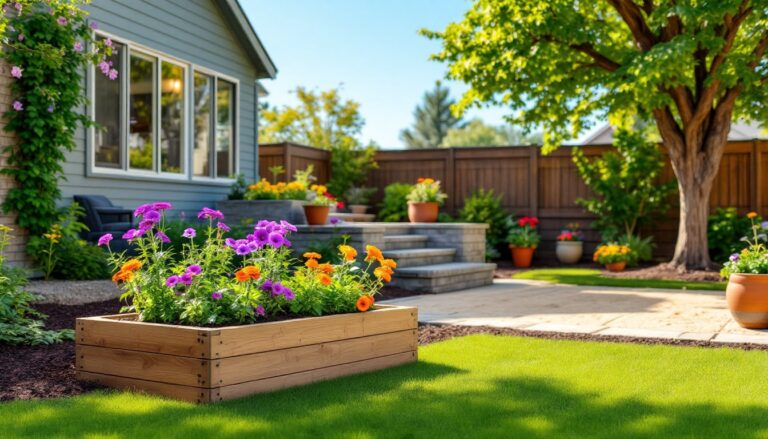
Functional layouts include built-in seating alcoves, raised beds, or integrated planters edging the patio. A curved or angled paver border, rather than a straight edge, softens the hardscape and creates visual interest. Incorporate permeable paving in lower-traffic areas: permeable pavers allow water to drain through gaps, reducing runoff and supporting local drainage codes in many jurisdictions.
Consider shade and sight lines when planning layout. A patio facing afternoon sun may need a pergola or shade sail, which also anchors the space visually. Pathways connecting the house to the patio, or looping through the yard, make entertaining feel intentional. If adding fire features, verify local fire codes, most jurisdictions require clearance distances of 10–15 feet from structures. Professional installers know these codes: DIYers should check local ordinances before finalizing designs.
Budget-Friendly Paver Installation Tips
Paver projects need not drain savings. The biggest budget-savers involve smart material choices and realistic DIY scope assessment. Concrete pavers cost roughly $2–$6 per square foot, while natural stone or premium brick can run $8–$15+ per square foot. Concrete is durable, versatile in color and size, and perfectly respectable, especially when sealed and well-maintained.
Start smaller and expand later. A modest 10×10 patio feels rewarding to install yourself and costs less than $500 in materials (assuming concrete pavers, sand, and base). Most DIY failures stem from skipping prep work, a compacted gravel base prevents settling, paving sand keeps pavers level, and a string line or level ensures straight edges. Don’t cheap out on the foundation: it’s invisible but critical.
For installation, rent a plate compactor (often $30–$50 per day) rather than buying one unless you’re planning multiple projects. Hand-tamp smaller areas with a rubber mallet. Calculate material carefully: a 10×10 patio with 4-inch pavers needs about 20 square feet per ton of base material and 100 pavers (assuming nominal 4×8 sizing). Many suppliers deliver free or at reduced cost for bulk orders. Ask if they offer “cut-off” paver bundles at discounts: these are leftover colors or styles perfectly serviceable for hidden edges or pathways.
Maintaining Your Paver Backyard
Pavers require minimal maintenance compared to other hardscapes, but smart upkeep extends lifespan and keeps them looking fresh. Sweep or blow off debris monthly to prevent organic growth in joints. Weeds and moss inevitably appear in gaps: use a targeted herbicide, sand-based polymers, or mechanical removal rather than heavy chemicals that damage surrounding plants.
Seal concrete pavers every 2–3 years with a penetrating sealer designed for masonry, this prevents staining and color fading without creating a slippery surface. Natural stone pavers benefit from sealing as well, especially lighter stones prone to water damage in freeze-thaw climates. Re-joint with polymeric sand or traditional sand when joints begin shifting: this takes a few hours and restores stability.
Address settling or shifting quickly. A low spot accumulating water can cause freeze-thaw damage or algae growth. Carefully pry up pavers in the affected area, add or remove base material as needed, and reset. Most homeowners can handle spot repairs without professional help. For large areas requiring releveling or base reconstruction, hiring a professional saves frustration. Winter weather in cold climates may crack poorly sealed pavers or cause frost heave: in these regions, professional-grade sealing is worth the investment.