
A quality outdoor patio bar transforms a blank <a href="https://tsuhan-sozai-logi.com/top-backyard-transformations/”>backyard into a gathering space that feels like an extension of your home. Whether you’re hosting summer cookouts, weekend hangouts with friends, or quiet evenings with family, outdoor bar ideas give you a functional focal point for entertaining. The good news: you don’t need unlimited space or budget to create a setup that works. From sleek bar carts on a small patio to a permanent built-in structure, there’s a solution for every backyard size and skill level. This guide walks you through practical outdoor patio bar ideas and outdoor bar ideas for backyard spaces, with honest assessments of effort, cost, and finish quality.
Table of Contents
ToggleKey Takeaways
- Outdoor patio bar ideas range from mobile bar carts ($150–$400) for renters and small spaces to permanent built-in structures ($1,000–$2,100), giving you flexibility to match your budget and commitment level.
- A well-designed outdoor patio bar requires thoughtful layout, quality materials (pressure-treated lumber, durable bar tops like tile or composite), and vertical storage to keep supplies accessible and spirits protected from sun damage.
- Layered lighting—string lights for ambiance, task lighting above the bar for mixing visibility, and solar path lights for guidance—transforms an outdoor bar from functional to inviting for evening entertaining.
- Fresh garnishes, proper glassware storage (at least 12 of each type), and beverage coolers or mini-fridges are essential for a fully functional bar that guests will enjoy using regularly.
- Simple decor choices like weather-resistant mirrors, potted herbs for garnishes, rope accents, and personalized signage ($50–$200) bridge the gap between a plain bar and one that feels like an extension of your home.
Classic Bar Cart Setup For Small Spaces
A bar cart is the fastest way to create an outdoor bar without commitment or structural changes. It’s mobile, scalable, and perfect for renters or anyone hesitant about permanent fixtures.
The essentials are straightforward: a sturdy cart (ideally with at least two shelves), a stable outdoor location sheltered from harsh sun or wind, and a small selection of spirits, mixers, and glassware. Look for carts made from stainless steel, powder-coated metal, or marine-grade materials that resist rust and UV fading. Avoid flimsy folding models: they tip easily on uneven patios.
Layout matters on a cart. The bottom shelf holds bottles and heavier items. The middle shelf displays glassware and garnish containers. The top tier stays clear for mixing or serving drinks during gatherings. Keep a cutting board tucked on the cart for prepping fruit garnishes, lime wheels, lemon twists, and fresh mint make drinks feel intentional.
Storage is the catch. Once you start mixing cocktails regularly, you’ll need space for bottle variety, small tools (jigger, bar spoon, strainer), and supplies like bitters and simple syrup. Many DIYers add a weatherproof rolling storage cabinet nearby or stash supplies in a compact outdoor sideboard. Outdoor bar carts come in countless styles, from mid-century modern wireframes to traditional wood-and-brass designs, so matching your patio aesthetic is simple.
Budget: $150–$400 for a solid cart plus basic glassware and bar tools.
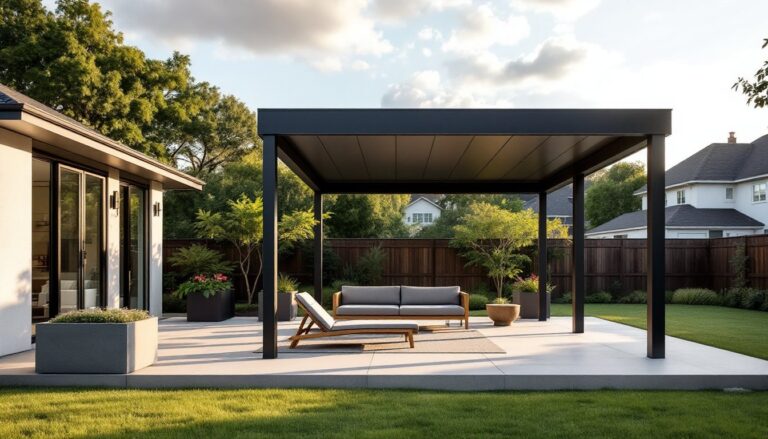
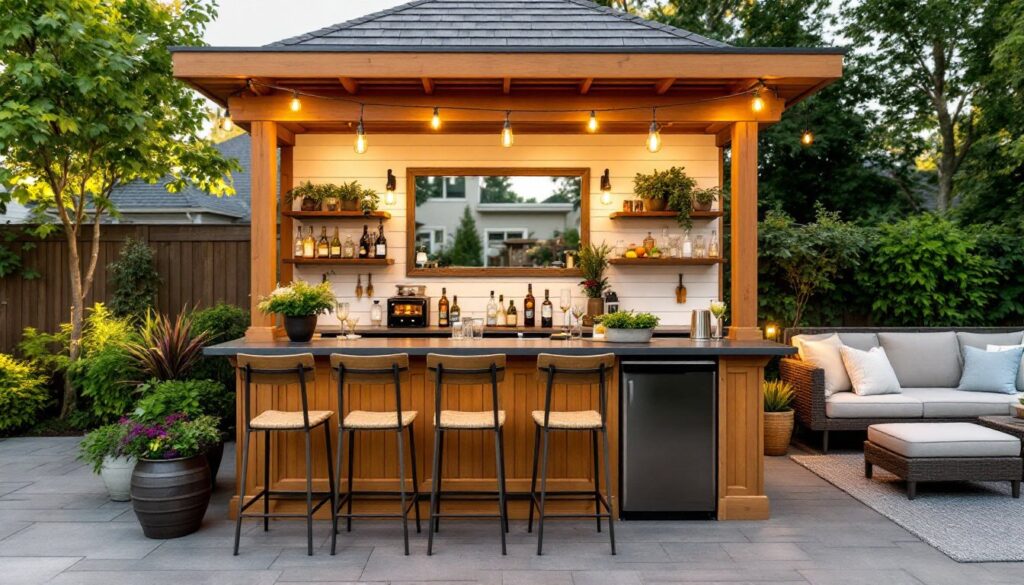
DIY Built-In Patio Bar Design
A permanent built-in bar anchors your entertaining space and handles daily use without collapse. Unlike a cart, it demands concrete planning, proper materials, and honest assessment of your carpentry skills.
Material Selection And Layout Planning
Start by choosing your footprint. A standard serving bar runs 48–60 inches long and 24 inches deep. Anything smaller feels cramped: anything larger demands a significant patio footprint. Sketch the layout and measure twice. Account for foot traffic flow around the bar, people should reach supplies without shuffling through your seating area.
Frame the bar using pressure-treated lumber or cedar. Pressure-treated 4×4 posts and 2×10 joists handle outdoor moisture and load from supplies, bottles, and leaning guests. Cedar costs more but resists rot and looks warmer without paint. Avoid untreated pine: it fails in two seasons.
The bar top is your showpiece. Tile (ceramic, porcelain, or slate) resists stains and cleans easily. Composite decking material (like Trex) tolerates spills and requires minimal maintenance. Sealed wood, while beautiful, demands annual refresh and struggles with standing water. Thickness matters: aim for a 1.5-inch finished top so glasses sit stable and drinks don’t slide during wind. Overhang the front by 10–12 inches for guest legroom.
For the back wall or shelving, marine-grade plywood sheathed in corrugated metal, stacked stone, or horizontal shiplap adds texture and protects underlying structure. Seal all wood with marine-grade sealant or paint rated for exterior use. Standard exterior latex or oil-based enamel works: two coats are essential.
Cost breakdown (for a 60-inch bar):
- Lumber and hardware: $400–$600
- Bar top material (tile or composite): $300–$800
- Back wall or shelving: $200–$500
- Finishes (sealant, paint): $100–$200
Total: $1,000–$2,100 for materials. Add another $300–$600 if renting tools or purchasing a power drill, circular saw, and level (if you don’t own them).
Beverage Station Essentials And Storage
Functionality separates a pretty bar from one you’ll actually use. A well-organized beverage station keeps supplies accessible and protects bottles from sun degradation.
Build vertical storage using open shelving or a cabinet beneath the bar top. Lower shelves (below bar height, 36–42 inches) hold bulk supplies: bottles, bulk ice storage, and backup glassware. Upper shelves (above the bar top, within arm’s reach) display your most-used spirits, mixers, and fresh garnishes. This vertical approach saves counter space and keeps items visible.
Glassware rotation is real. You’ll need highball glasses, rocks glasses, cocktail coupes, and wine glasses, at least 12 of each for regular entertaining. Store them rim-up in a cabinet with good ventilation to prevent mustiness. If your bar lacks shelving, a stainless-steel, wall-mounted bracket system costs $100–$200 and holds impressive volume.
Keep spirits in UV-protective glass bottles or store them in a shaded cabinet. Direct sun fades color and degrades flavor. Mixers, tonic, soda, ginger beer, stay in a dedicated mini cooler or beverage fridge ($250–$500). Ice is non-negotiable. A compact ice maker tucked under the bar top saves running in and out of the house and impresses guests.
Fresh garnishes (citrus, herbs, berries) belong in a small weatherproof container near the mixing station. Prep them in the morning and cover with a damp towel so they stay crisp through the day. Most garnishes last 6–8 hours on a patio if kept cool.
Include a small sink if possible. Plumbing adds cost and complexity, but rinsing glasses and fruit without returning indoors is a game-changer. If a full sink isn’t feasible, keep a 5-gallon bucket filled with ice water and a strainer for quick glass rinsing. Empty it and refill every 2–3 hours.
Lighting And Ambiance Upgrades
Evening entertaining demands proper lighting. A bare bar under harsh overhead light feels more like a concession stand than a retreat. Layered lighting transforms mood and functionality.
String lights (Edison bulbs or fairy lights) draped 7–8 feet overhead create warm, inviting ambiance. Run them in a grid or loose swoops between posts or nearby trees. LED strings consume less power and generate minimal heat. Budget $40–$150 for quality weatherproof versions rated for outdoor use.
Task lighting belongs directly above the bar top for mixing visibility. Pendant fixtures hung 24–30 inches above the surface work well. Recessed lights or a simple bar-mounted LED strip also function. Aim for warm white (2700K color temperature) rather than cool white, it feels cozier and is easier on the eyes.
Ambient lighting, uplighting on trees, path lights along walkways, or accent spotlights on your patio’s focal points, ties the whole space together. This layer needn’t be bright: it guides movement and creates depth. Solar-powered path lights cost $20–$60 per light and eliminate wiring headaches.
Control your lighting with a weatherproof switch or smart bulbs. Being able to dim or change color temps sets mood for different occasions. Dimmable LED bulbs add $5–$15 per unit but justify the cost through flexibility and energy savings.
Safety note: ensure all electrical work meets local codes (NEC standards). If adding permanent wiring, hire a licensed electrician. Exposed cable running along bar surfaces creates tripping hazards and looks amateur.
Budget-Friendly Bar Decor And Finishing Touches
Decor bridges the gap between functional and inviting. You don’t need expensive finishes, thoughtful choices do the work.
Mirrors behind the bar multiply light and create a sense of space. A weather-resistant acrylic mirror (cheaper and safer than glass outdoors) hung on your back wall or shelving costs $40–$120 and instantly upgrades the setup. Position it to reflect evening light and bounce it across the patio.
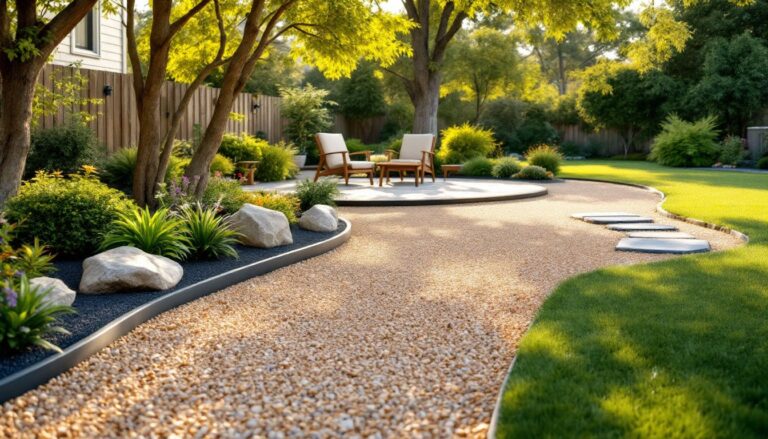
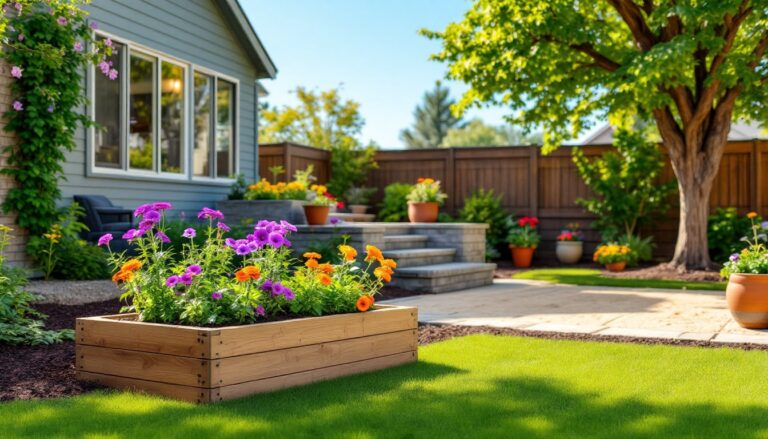
Green elements, potted herbs, climbing vines, or a living wall behind the bar, soften hard surfaces and tie your bar to the surrounding landscape. Basil, mint, and rosemary double as cocktail garnishes and are forgiving even in filtered sunlight. Trailing ivy or clematis on a trellis behind the bar adds verticality and privacy. Maintenance is real though: water them regularly in hot months.
Texture comes through accents: rope, stone, wood planters, or fabric cushions on nearby stools. These details don’t cost much individually but compound into a cohesive look. A weatherproof throw pillow on a bar stool ($20–$40) and a roll of jute rope for trim ($10–$20) transform a plain cart or structure.
Signage is the final touch. A custom metal or wooden sign with your family name, a drink menu, or a witty phrase costs $50–$200 from a local maker or Etsy shop. It’s personal, memorable, and guests love it. Avoid plastic or vinyl that fades: metal, wood, or concrete signs age gracefully.
Budget tip: Backyard transformation ideas on design-focused home sites often feature budget builds. Thrifting bar stools, reclaiming old wood for trim, and swapping in affordable stainless-steel shelving stretch dollars. Southern Living and Country Living regularly publish regional takes on outdoor entertaining spaces, study them for inspiration tailored to your climate.
Conclusion
An outdoor patio bar needn’t be elaborate or expensive. Whether you choose a mobile cart or invest in a built-in structure, the goal is the same: create a space where guests feel welcome and you’re confident serving drinks. Start with honest measurement, solid materials, and thoughtful storage. Add lighting that flatters, decor that reflects your style, and a layout that flows naturally with your patio. These best backyard transformations show what’s possible when planning meets execution. The result is a backyard that earns its place as your favorite room in the house.